

If you're on the hunt for DIY projects that are simple, creative, and useful, creating your own DIY ChapStick'® holder checks all the boxes. From a basic crocheted holder to a no-sew faux-leather keychain holder, we've collected a few of our favorite ideas for DIY ChapStick'® holders that are simple enough to make for even the most novice crafters.
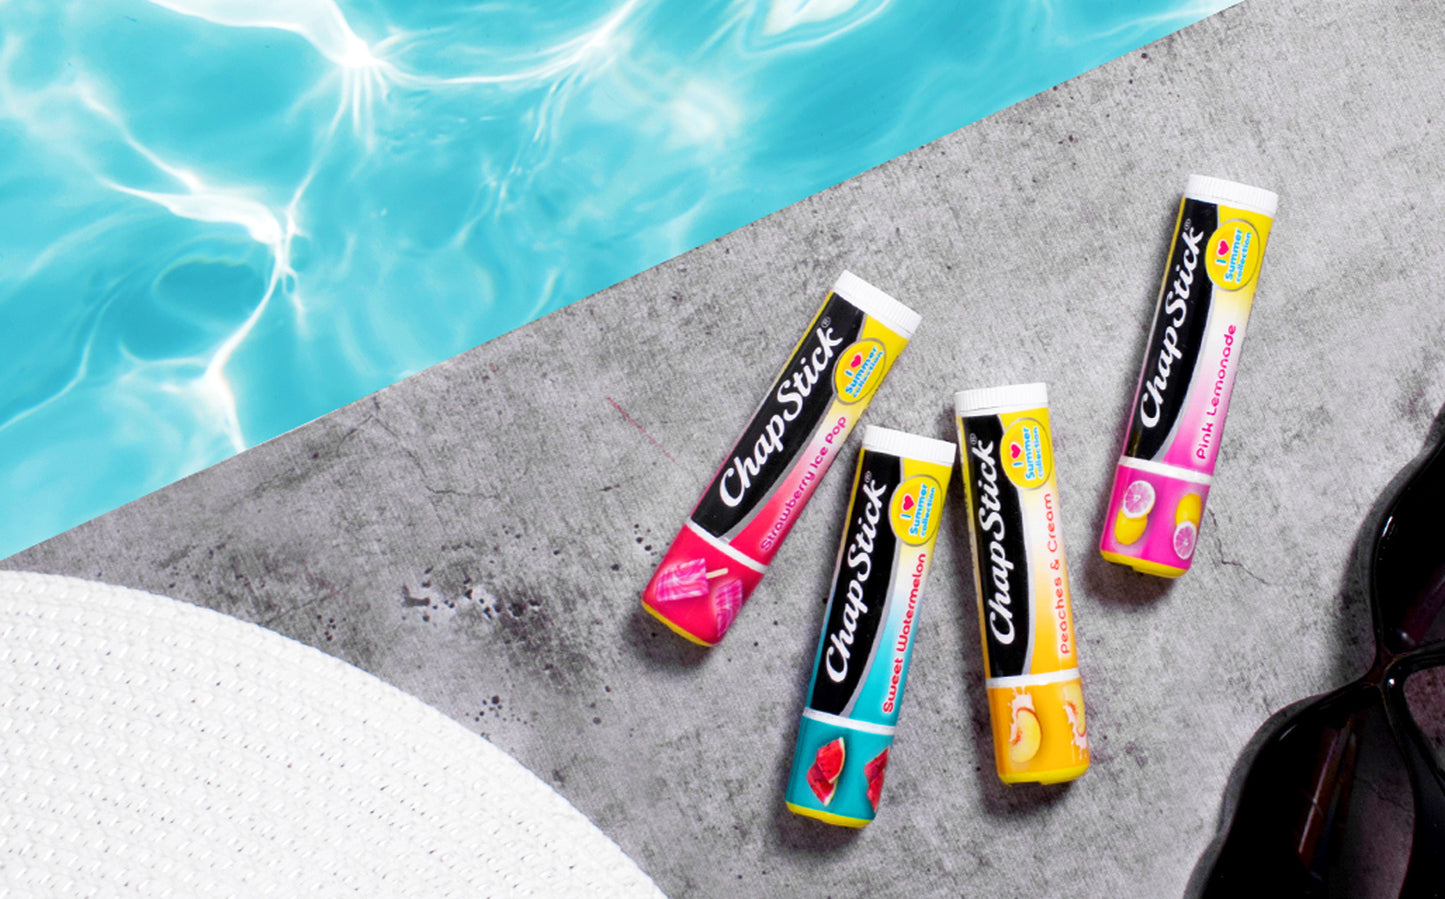
A ChapStick'® holder is the perfect accessory for bringing your favorite balm on the go. Whether you're on team Cherry, team Cotton Candy, or you're loyal to classic Original, a DIY ChapStick'® holder will keep your favorite flavor cozy wherever you are.
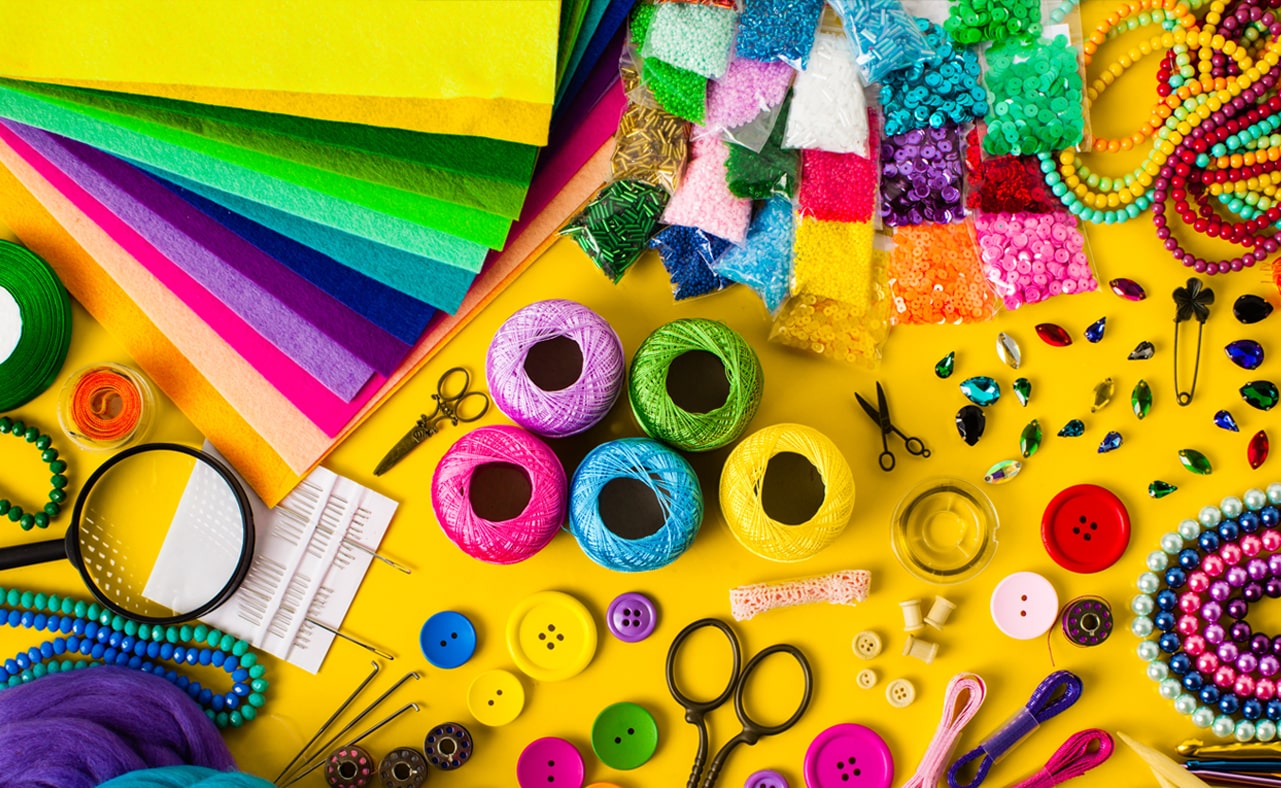
Grab your scissors, glue, and yarn and let's get crafting!
1. Simple Fabric ChapStick'® Holder Keychain
What you need:
- Keyring
- Scrap of fabric
- Measuring tape
- Needle and thread or sewing machine
- Iron
Let's go!
- Step 1: Cut your fabric scrap into a piece that's 9 inches wide and 3'½ inches long.
- Step 2: Fold the fabric in half by bringing the bottom up to the top, keeping the right side of the fabric on the inside of the fold.
- Step 3: Sew up the long edge of your folded fabric, using your needle and thread or sewing machine.
- Step 4: Turn your piece right-side out, so that the brighter side of the fabric is now on the outside. Your piece should now resemble a tube.
- Step 5: Using an iron on the appropriate heat setting for your fabric, iron your tube flat.
- Step 6: Fold up one end of the fabric and hem it, using your needle and thread or sewing machine to sew it closed.
- Step 7: Flip your fabric over and hem the other side, folding the fabric up on the opposite side of your first hem.
- Step 8: Fold one edge of the fabric up approximately the length of a ChapStick'® tube, so that the rough seam is on the inside.
- Step 9: Using your ChapStick'® tube to measure, sew along both sides of your ChapStick'® to create a ChapStick-sized pocket. Keep the seam allowance as small as possible.
- Step 10: Open up the keychain ring and slip it into the hem at the top of your holder.
2. No-Sew Faux-Leather ChapStick'® Holder
What you need:
- Faux-leather sheet or old faux-leather bag to repurpose
- Jewelry and bead adhesive
- Iron-on vinyl
- Cutting machine or scissors
Our step by step to a faux-leather ChapStick'® holder:
- Step 1: Use a template to cut your leather. There are many printable templates available online. Make sure you choose one that includes a slit for the ChapStick'® tube.
- Step 2: Apply the adhesive around the edge of your cut faux-leather on the side without the slit.
- Step 3: Fold the opposite side of your faux-leather piece down so that it's touching the adhesive. Apply pressure while the adhesive dries.
- Step 4: Using an iron and your iron-on vinyl designs, apply your desired decorations (optional).
- Step 5: Open your keychain keyring and slip it through the loop at the top of your holder.
3. Crochet ChapStick'® Holder Keychain
What you need:
- Medium-weight yarn
- Keyring
- Crochet hook
- Stick markers
- Scissors
- Tapestry needle
- Scissors
Let's get crafty!
- Step 1: For round one, crochet six single stitches in an adjustable circle.
- Step 2: For round two, crochet two single stitches in each stitch of your circle.
- Step 3: Weave in the yarn's tail using your tapestry needle before you continue crocheting up the tube.
- Step 4: For round three, single crochet each stitch around in back loop only.
- Step 5: For rounds four through 13, single crochet each stitch around, working in both loops. This should be 10 rows total.
- Step 6: Slip stitch the first stitch and chain six.
- Step 7: Cut a long tail but don't fasten it off yet.
- Step 8: Remove your hook from the loop and slip on the keyring, slip stitching into the first stitch and now fastening off.
We hope this article has given you some ideas on how to DIY your very own ChapStick'® holder.